Major differences from original Moodle’s Wiki
- The OU Wiki includes integrated comments on pages or headings; the new annotation system allows teachers to add 'notation' to a wiki page.
- Scheduled timeout prevents clashes so that no two users can edit at the same time.
- Time slots are added as a new feature to enable teachers to set a time limit for further modifications.
- You can restrict access to the wiki draft to a person or a group.
- Grading can be provided in the system
1
In the course page, turn "Edit mode" on (Original: Turn editing on).
2
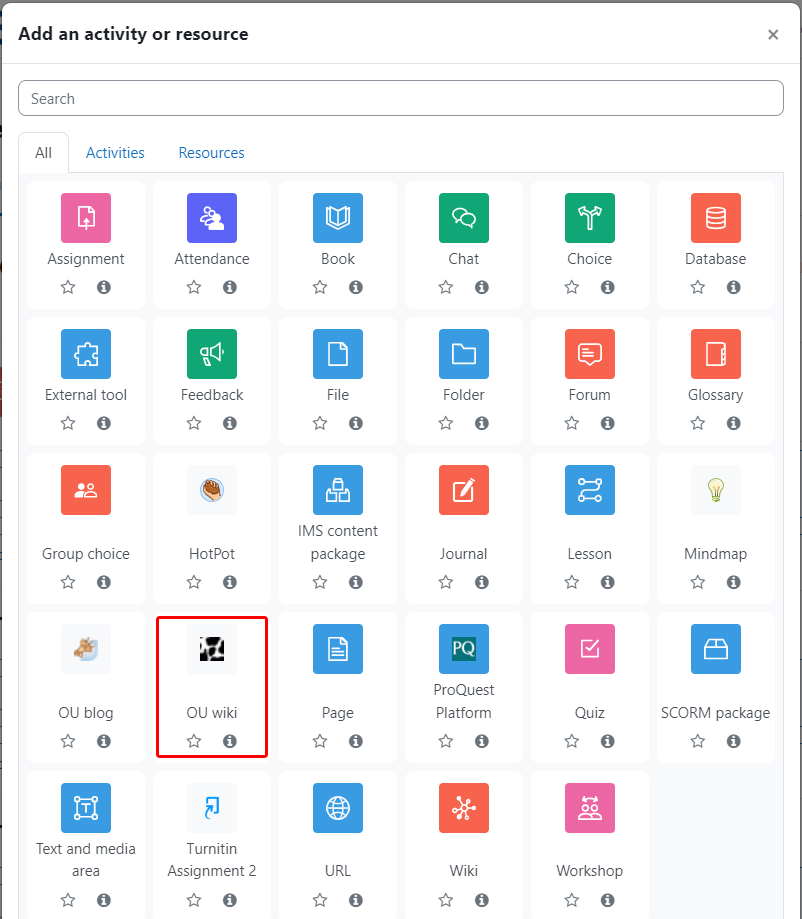
Click "Add an activity or resource"
Select "OU Wiki".
3
In the settings page, please type the name of the wiki, and the description (optional).There are three main options that you can select for the types of the wiki:
A. Types of wiki - Sub-wikis
- Single wiki per course
- One wiki per group
- Separate wiki for each user
B. Comment System
- Default - Uses the site wide setting.
- No comment system - This wiki will not use a comment system.
- Annotation system - A user, with the appropriate permission, can add inline annotations to the wiki.
- Per-section comment system - This is the original method of commenting whereby the comments are added at the top of each section.
- Both sytems - Both of the Annotation & Per-section comment systems can be used on the same wiki.
C. Time allowed for edit
4
When the wiki is created, students can edit the wiki anytime in the permitted time period. Any changes of the wiki will be saved in “wiki index”, “wiki changes”, “wiki participation by user” accordingly, located at the top right hand corner.Students can also gain access and leave their comments in the wiki.


